To Host a Blooket Game, you need only four things …
- A computer with an internet connection,
- A Blooket account,
- A question set, and
- Players
Blooket is a powerful and engaging tool for gamifying classroom learning or just having fun with quizzes. Whether you’re teaching students or challenging your peers, Blooket makes it easy to host interactive games using custom or public question sets. Here’s exactly how to host a Blooket game from start to finish.
A Step-by-Step Guide to Host a Blooket Game:
1. Log In or Create an Account
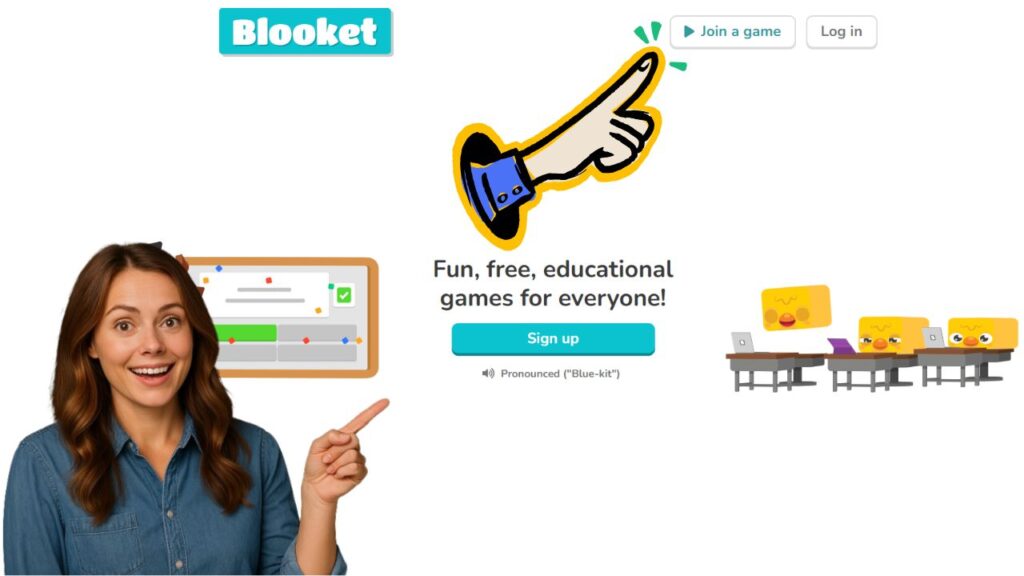
Start by visiting Blooket.com. If you don’t already have an account, sign up for one—it’s free and quick. If you already have an account, just log in.
2. Choose a Question Set
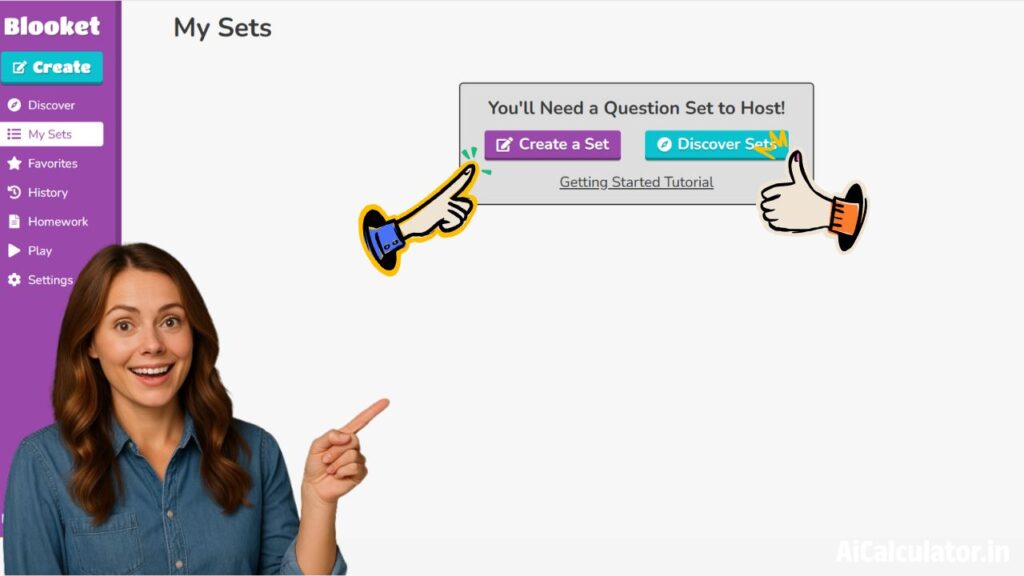
Before you host a game, you’ll need a question set. You have two main options:
- Use your own sets: Go to the My Sets section to use any you’ve created previously.
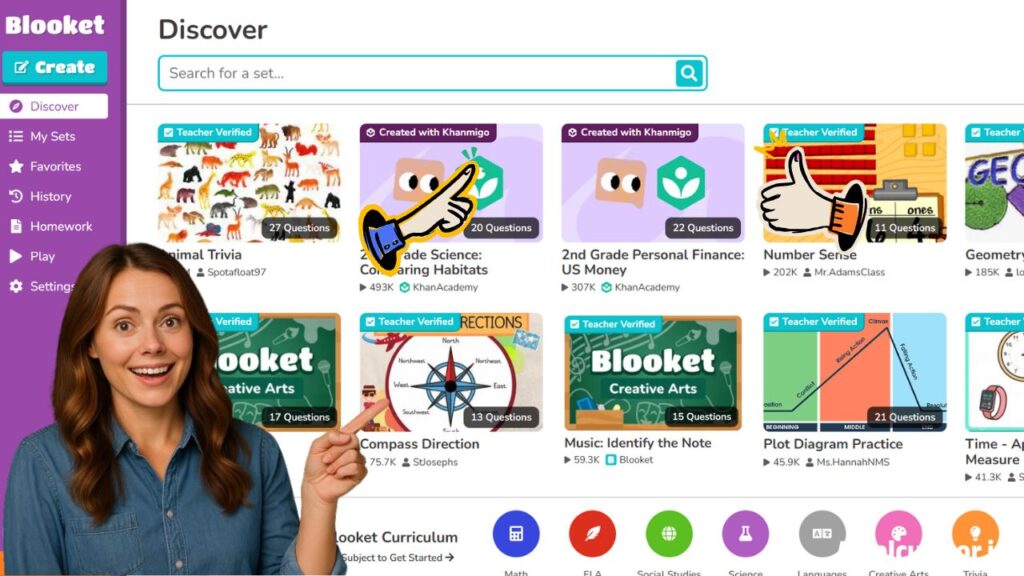
- Browse public sets: Click on the Discover tab to search among over 20 million public question sets. Use the search bar or scroll through Featured Sets to find one that fits your needs.
Once you find a set you like, click it to view the Set Preview page. You can click Show Answers to review the questions before moving on.
3. Host the Game
Step 1:
Step 2:
Step 3:
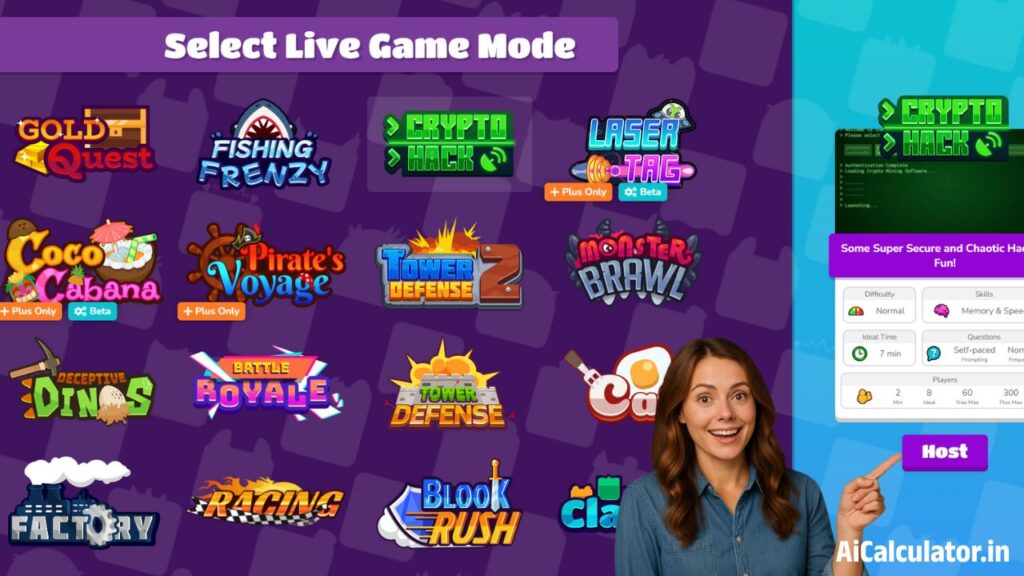
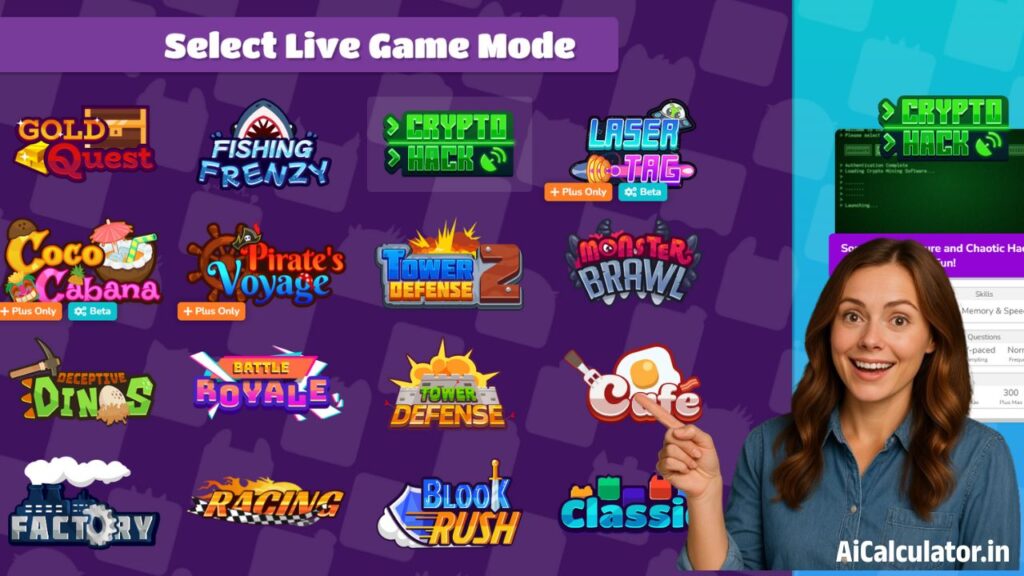
When you’re ready, click Host on the Set Preview page. You’ll now choose a game mode—these vary in style and mechanics (e.g., Gold Quest, Tower Defense, etc.). Click on each mode to preview it. Once you’ve chosen, click Host again.
4. Set Game Parameters
Blooket gives you two ways to end a game:
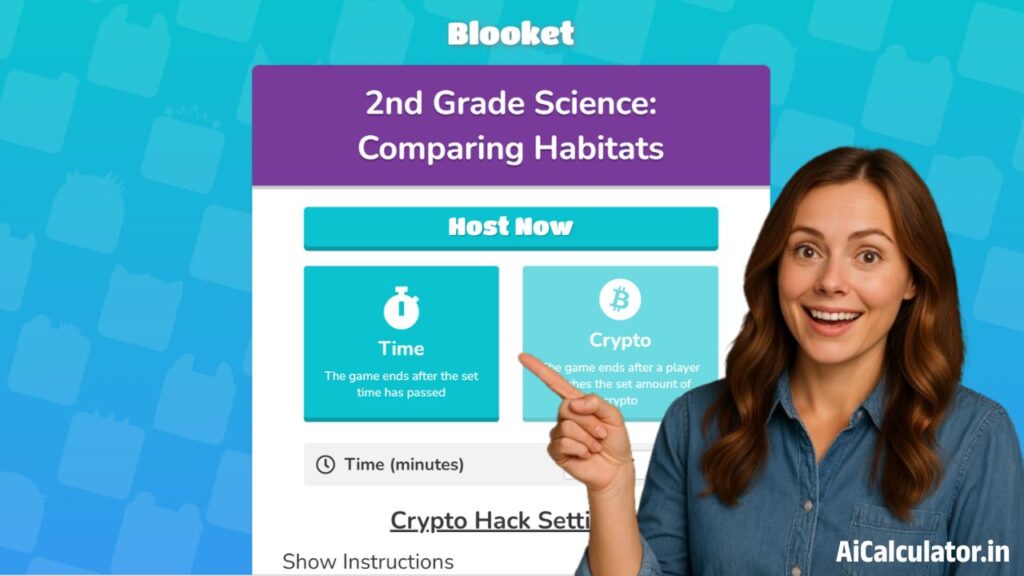
- Time-based: Set how long the game will run (e.g., 5 minutes).
- Achievement-based: Set a goal players must reach (like earning points or completing tasks).
After choosing how the game ends, scroll down to customize additional settings:
- Show Instructions: Displays a quick tutorial for players before the game starts.
- Allow Late Joining: Lets players join after the game begins.
- Use Random Names: Automatically assigns player names. You can disable this to let players enter their own—helpful for tracking scores.
- Allow Student Accounts: Enables players to sign in and collect experience points and tokens, which unlock in-game items. You can turn this off if preferred.
Once everything looks good, scroll back up and click Host Now.
5. Share the Game with Players
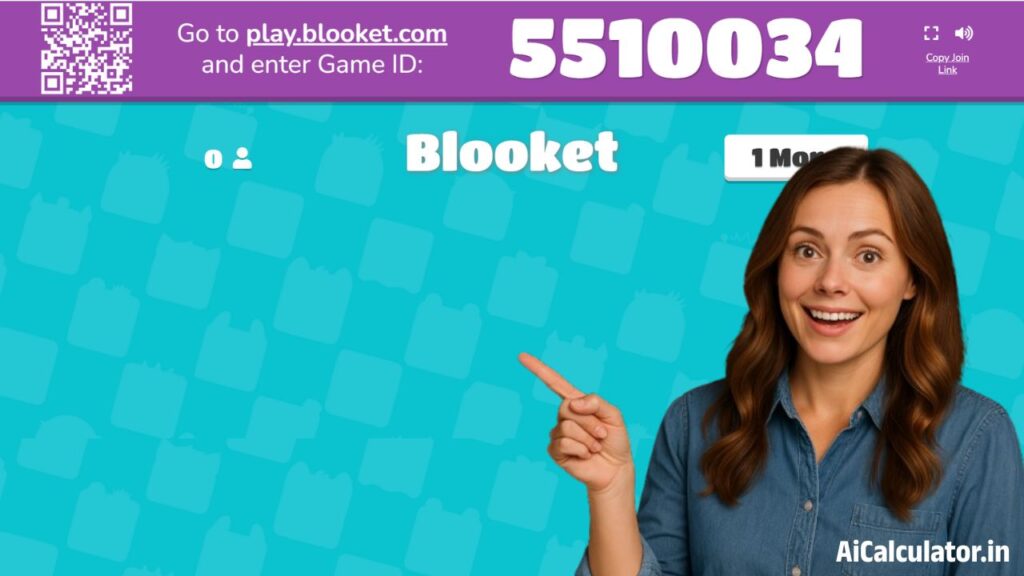
Now it’s time to get your players into the game. Share your screen if you’re hosting virtually, or project it in a classroom. Players can join in three ways:
- Scan the QR Code displayed on your screen.
- Go to play.blooket.com and enter the game ID.
- Share the Join Link directly for easy access.
6. Start and Monitor the Game
Once all players have joined, click Start to launch the game. Players will answer questions on their own devices while you monitor the live leaderboard on your shared screen.
You can end the game early anytime using the controls in the top-right corner. When the game ends—either by timer, goal, or manually—the final standings will display for everyone.
7. Review Results and Reports
After the game, detailed student reports are available, showing performance insights. This helps you assess comprehension, identify learning gaps, and celebrate top performers.
Final Thoughts
Hosting a Blooket game is simple and highly effective for engaging learners. From quick reviews to team competitions, it’s a versatile tool that brings fun and strategy into education. Want to create your own question sets or assign Blooket as homework? Explore Blooket’s other tools and tutorials to take your game hosting to the next level.